How to Scan Old Photos
Old photos act like a gateway to the past, a connection to a different time.
Due to their delicate nature, preservation is crucial to maintaining your older photographs. In this guide, we’ll talk you through how to digitise old photos.
There are multiple reasons to scan your photo collection, including the sentimental value they hold and the option to preserve them digitally while also being able to keep a physical copy. Here we’ll take you through the step-by-step process of preparing your old photographs for scanning, as well as the scanning process itself and some top tips for photo scanning.
- Reasons to Scan Your Old Photos
- How to Prepare Your Photos for Scanning
- Choose the Right Scanning Equipment
- How to Scan Your Old Photos: Step-by-Step
- Enhancing and Restoring Old Photos
- Storing and Sharing Digital Copies
Reasons to Scan Your Old Photos
Historic Records: Whether it’s photos of your own personal/family history, or historic photos more generally, oftentimes old photos act as a connection to the past.
An Emotional Connection: Finding old photographs can make you think of happy memories and evoke powerful emotions.
Why Keep a Physical Copy of Your Old Photos?
Scanning your old photos means you have the option of simply keeping a digital copy, or printing an additional (and perhaps sturdier) physical copy as a backup. Here are some reasons why this can be a great way to preserve your cherished memories:
- A tangible reminder: Nothing beats the unique and tactile experience of holding a photo yourself, as opposed to simply looking at it on a screen.
- Aesthetic: Vintage prints have their own sense of charm and authenticity that many social media filters today seek to replicate.
- A backup of your treasured memories: Additional physical copies of your old photos are a great way to protect against digital loss or corruption.
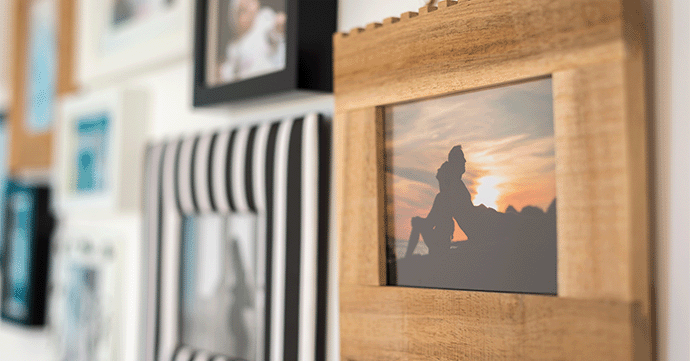
- Display your memories: Displaying framed photographs around your home acts as a happy reminder of the past and can also be a great conversation starter when you have visitors over. You can even print your own photographs to display around the home. You’ll need photo paper, a printer (and ink) and a frame.
How to Prepare Your Photos for Scanning
Now you know why you should backup your old photos, we’ll outline how to digitise photos, all the way from sorting your collection in preparation, to the scanning process itself.
Sorting and Organising Your Photos
Use these tips to efficiently organise your photo collection, to make the process of scanning photos faster and easier.
Organise by Date and Event
Sorting your photos chronologically allows you to create your own timeline of memories and helps when you need to find a specific photo at a later date. You could also sort by event for special occasions such as weddings or holidays.
Identify Priority Photos
It goes without saying that you’ll want to prioritise your most important or older photographs, such as rarer photos of ancestors or milestone moments for your family. Irreplaceable, these photos should be on the top of your pile to scan. Similarly, for fragile, delicate photographs or ones that show signs of deterioration, photo scanning can help you to preserve them before any further damage occurs.
Label and Index Your Photos
Using labels to identify any categories you’ve come up with can be a great way to keep track of your photographs. You could even use index cards or sticky notes. Once scanned into your PC, you can also apply digital tags and metadata to keep your digital photos organised too!
Cleaning Your Old Photos
If your older photos show signs of wear and tear and need to be cleaned before scanning, please follow the tips below to gently clean your photos to remove dust and debris without damaging them:
- Use clean hands: Make sure you wash and dry your hands thoroughly before touching photos to prevent the transfer of oils/dirt.
- Use a soft brush: Gently remove dust from the photo’s surface.
- Compressed air: Using a can of compressed air, blow off the loose dust and debris, ensuring you hold the can at an angle to avoid direct contact with the photograph.
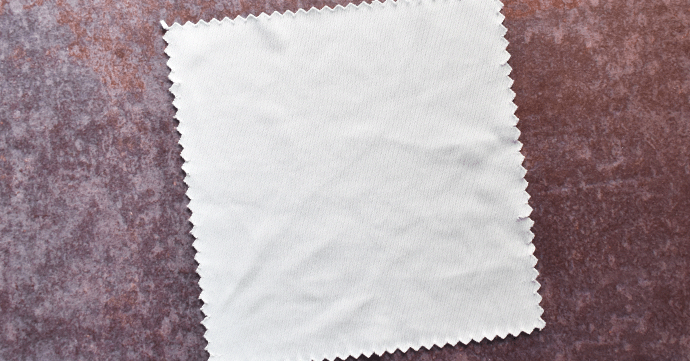
- Microfibre cloth: With a clean and dry microfibre cloth, use circular motions to gently wipe the photo in a circular motion, to lift any remaining dust.
- Use distilled water for stains: Gently dab a cotton swab that’s been lightly dampened with distilled water on your photos to remove any stubborn stains, making sure you avoid excessive moisture.
- Avoid harsh chemicals: Don’t use household cleaners, alcohol or any other harsh chemicals, as these can damage the photo’s surface and risks ruining them.
- Work in a dry environment: Working in a clean, dry environment helps prevent moisture or additional dust from settling on your photos while you clean them.
How to Handle Old Photographs

When handling old photos, you should use caution to avoid damaging them, as they can be fragile. Ideally, use gloves when you handle them to avoid transferring oil and dirt. Handle photos by their edges to prevent getting fingerprints or smudges on them and make sure you use both hands to support larger photos to prevent creasing or bending. You should also limit how much the photos are exposed to light, (especially direct sunlight), to avoid fading. Finally, store your photos in acid-free, archival-quality storage materials to protect them against potential environmental damage.
Choose the Right Scanning Equipment
Scanner Types
There are multiple options available to you if you need to scan photos, here’s a brief overview of them:
Flatbed scanner: photos and documents are placed on a flat surface and scanned, the data from that scan is then transformed into a digitised file. Scanning each individual photo on a flatbed scanner can be a slow process that requires a lot of manual work (especially for larger collections) but ultimately provides high-resolution scans that capture fine details.
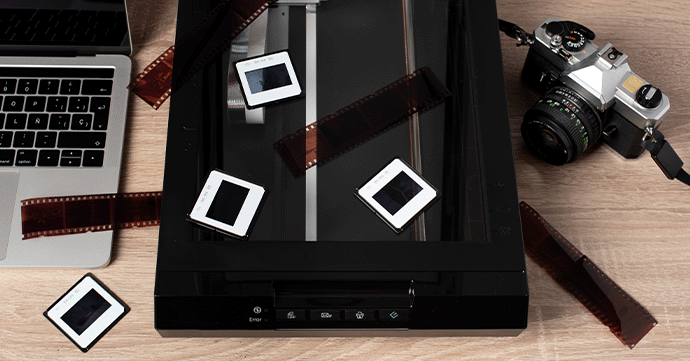
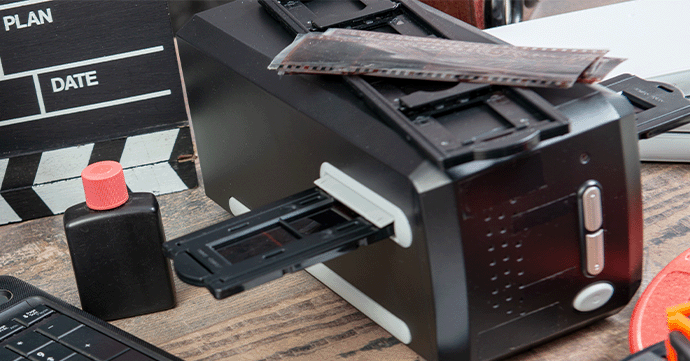
Photo scanner: designed for quick and efficient scanning, photo scanners allow you to scan multiple photos in less time than a flatbed scanner. Arguably there’s some trade off in terms of quality though, as some photo scanners may not offer the same level of detail and resolution than flatbed scanners, which could risk compromising the quality of your scans.
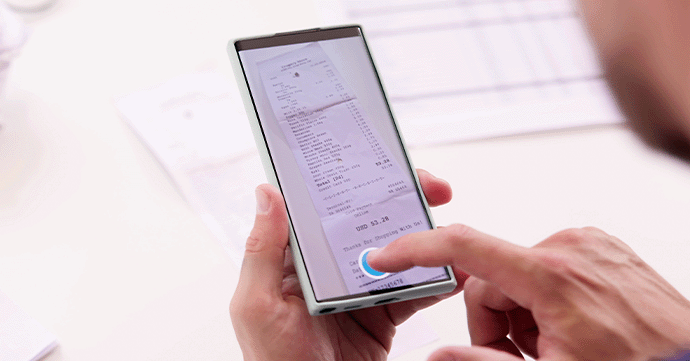
Mobile apps: The most convenient option of the three, mobile apps allow you to scan photos quickly and easily using your smartphone, scanning from anywhere. The downside of these apps is that quality can vary and is dependent on the quality of your smartphone camera as well as the photo app. This can oftentimes result in lower resolution and potential distortion when compared to dedicated scanners.
Other Things to Consider
Here are some other key factors to consider when choosing a scanner:
Resolution
Measured in dots per inch, the DPI indicates the resolution of scanned images. A higher DPI = a better resolution, so make sure you opt for a larger number for high-quality scans.
Software Options
Below you’ll find recommendations for scanning software that’s suitable for a range of different skill levels and scanning needs, from basic corrections to professional-level restorations.
Adobe Photoshop: The industry standard, Adobe Photoshop offers features like advanced colour correction, restoration tools and extensive editing capabilities.
VueScan: Affordable and easy to use, VueScan offers dust and scratch removal, colour correction and batch scanning.
Epson Scan: Free with Epson scanners, this user-friendly software offers basic but good editing features such as colour restoration, dust removal and backlight correction.
SilverFast: Boasting a comprehensive set of features, SilverFast offers professional-grade colour correction, dust and scratch removal and image optimisation tools.
GIMP (GNU Image Manipulation Program): Free and open-source, here you’ll find powerful editing features and the ability to customise with plugins. Offers colour correction, photo enhancement and restoration tools.
Microsoft Photos: Free with Windows, this software is easy to use for basic scanning needs, offering basic colour correction, cropping and simple editing tools but isn’t suitable for detailed restoration work.
Image Capture (Mac): An in-built OS level app for Macs, users can easily scan their photos, batch scan, automatically correct images and more.
Scanning the Negatives
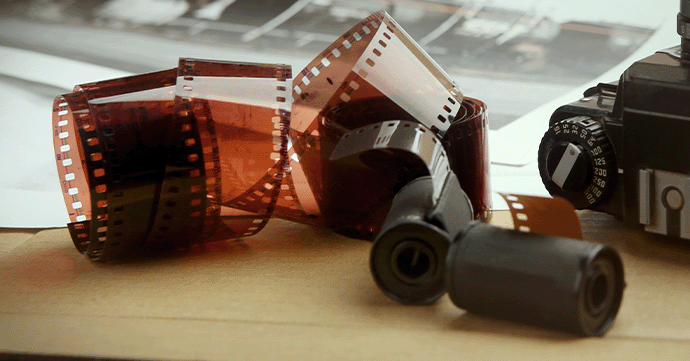
Ideally, you should scan the negatives of a photograph as opposed to the printed photograph itself because negatives typically contain more detail and a wider dynamic range than prints. This results in higher resolution scans with better colour accuracy and less loss of detail, providing a more faithful reproduction of the original image, which is crucial when reproducing older photos.
How to Scan Your Old Photos: Step-by-Step
Here we’ll discuss how to digitise photos, from setup to positioning, then moving on to scanning and storing.
Setup
1. Install scanner software: Ensure you’ve downloaded and installed the latest driver and software. Connect your scanner to your computer via a USB or network connection.
2. Prepare scanner: Make sure the scanner is placed on a flat, stable surface that’s free from movement. Clean the scanner glass to ensure there’s no dust and/or smudges.
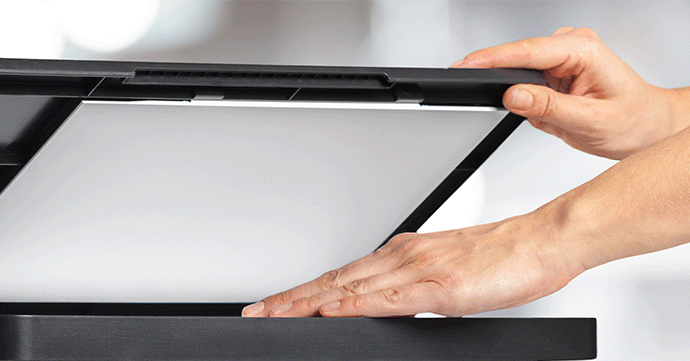
3. Position the photo: Open the lid of the scanner and place the photo face down on the scanner glass. Make sure the photo is aligned with the corner or guide markings on the scanner bed.
4. Open the scanner software on your computer.
5. Select scan mode and choose the applicable scan mode (eg., Photo, Document) based on the type of photo you need to scan.
6. Set the resolution: Ensure the scanning resolution is at least 300 DPI for general purposes. Use 600 DPI or higher for detailed/large prints.
7. Adjust colour settings: Select colour mode (Colour, Greyscale or Black & White) dependent on your photo. Enable any available/applicable colour correction or restoration features.
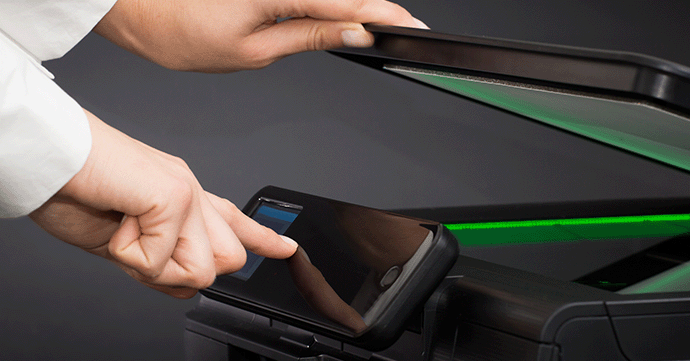
8. Choose file format: Select your desired file format. For example, use JPEG for general use and TIFF for high-quality archiving purposes.
9. Configure additional settings: Enable dust and scratch removal if your scanning software supports it. Adjust brightness/contrast settings as necessary.
10. Preview the scan: Click the preview button to see a preliminary scan and then make any necessary adjustments to the settings and positioning of your photo.
11. Scan! Once you’re OK with the preview, simply click the scan button.
12. Save the file to your desired location, making sure you give it a descriptive file name.
How to Position Your Photos for Scanning
Before scanning photos, it’s important to place your photo on the scanner carefully, to avoid skewing and cropping issues.

- Align with edges: Place your photo in one of the scanner’s corners, making sure it lines up with the edges to ensure straight placement.
- Use guide marks or rulers on the scanner bed to help you position the photo.
- Flat and centred: The photo should lie flat and be centred to avoid cropping issues.
- Gently close the lid to avoid shifting the photo.
- Avoid overlapping photos if you’re scanning more than one to prevent cropping and skewing.
- Preview: Utilise the preview function to verify the photo’s position and adjust if necessary.
How to Scan Old Photos
- Install and open scanning software.
- Prepare the scanner, ensuring it’s placed on a stable surface and that the glass is clean.
- Position the photo. It should be face down on the scanner glass and aligned with guide marks or edges.
- Select scan mode (Photo/Document) in the scanner software.
- Set the resolution to at least 300 DPI but 600 DPI or higher for more detailed scans.
- Adjust the following settings: colour mode, brightness, contrast, colour correction (if necessary). Choose the file format (JPEG, TIFF).
- Preview the scan and adjust if needed.
- Final scan: Click the scan button to perform the final scan.
- Check for issues and rescan if necessary.
How to Scan Old Photos from Your Mobile
Looking for the convenience of scanning old photographs from your smartphone? Here’s some tips for getting the most out of your mobile scans:

- Clean the lens: Ensure your smartphone camera lens is clean to avoid any smudges or dust in the scan.
- Good lighting: Use natural light or a well-lit environment to minimise shadows and reflections.
- Flat surface: Place the photo on a flat, even surface to avoid distortion.
- Steady hand or tripod: Hold your smartphone steady or use a tripod to prevent blurriness.
- Scanning apps: Use dedicated scanning apps (e.g., Google PhotoScan, Adobe Scan) for better quality and auto-correction features.
- Align properly: Align the photo within the frame of the scanning app to ensure all edges are captured.
- Avoid glare: Tilt the phone slightly or adjust the lighting to avoid glare on glossy photos.
- Edit after scanning: Use in-app or additional photo editing tools to crop, straighten and enhance the scanned image.
Saving and Organising Files
Once you’ve scanned your old photos, you’ll need to organise them properly to make best use of them. Here’s some advice for naming, organising and storing your scans:
Naming: Use descriptive names, including key details such as dates or locations. The most important thing is to be consistent when using a naming convention. You should also avoid using special characters and use underscores and/or hyphens instead of spaces.
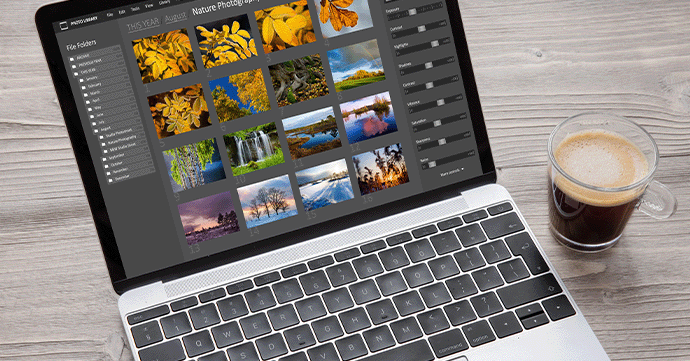
Organising: Create folders and organise by relevant categories such as year, event or person. You could then use subfolders to go into further detail, such as months or specific topics. Adding tags or metadata to photos allows you to easily search and filter through your collection.
Storing:
- Cloud storage: Using cloud storage services (like Google Drive and Dropbox) allows for the easy access and sharing of your scans.
- External hard drives: Save backup scans to an external hard drive for additional security/reassurance.
- Multiple backups: Furthermore, keeping multiple backups in a variety of locations can help to prevent data loss.
- Regular updates: Regularly updating and reviewing your storage and organisation system helps to keep it up-to-date and makes accessing it an efficient process.
Enhancing and Restoring Old Photos
Scanning old photographs not only allows you to digitise your collection but also, if you use applicable software, can improve the condition of the original image through editing.
Basic Editing Tools and Techniques
Make your old photos look more polished and professional using these basic tools and techniques:
Tools
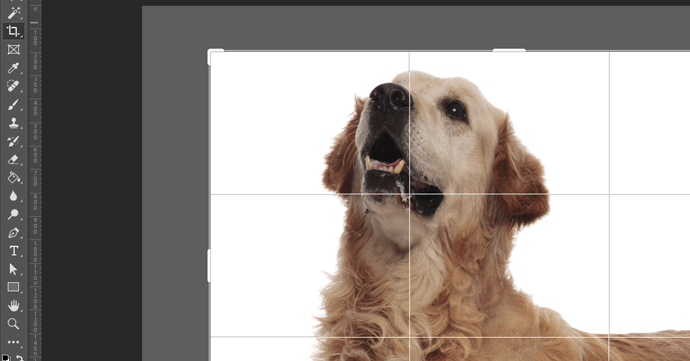
- Crop: Focus on the main subject by removing any unwanted edges.
- Rotate: Adjust the orientation of the image.
- Resize: Change the image’s dimensions while maintaining the aspect ratio.
- Brightness/Contrast: Enhance the image clarity by adjusting the lighter and darker areas.
- Colour Balance: Correcting colour imbalances can help to achieve natural-looking colours.
- Sharpen: Makes edges more defined, enhancing image details.
- Red-Eye Removal: Removes the red-eye effect often caused by flash photography.
Techniques
- Adjust Levels: Fine-tuning shadows, midtones and highlights leads to an improved exposure.
- Use Filters: A quick and simple way to change the look of your photo.
- Clone and Heal: Can be used to remove blemishes or unwanted objects.
- Dodge and Burn: Lighten (dodge) or darken (burn) specific areas of your image to add depth and contrast.
- White Balance Adjustment: Make whites appear more white by correcting the colour temperature of your photo.
- Noise Reduction: Low-light photos can result in some graininess, which can be reduced using this technique.
Advanced Restoration
Advanced editing tools and techniques can help you to effectively restore scanned photos, helping to preserve their original details and charm.
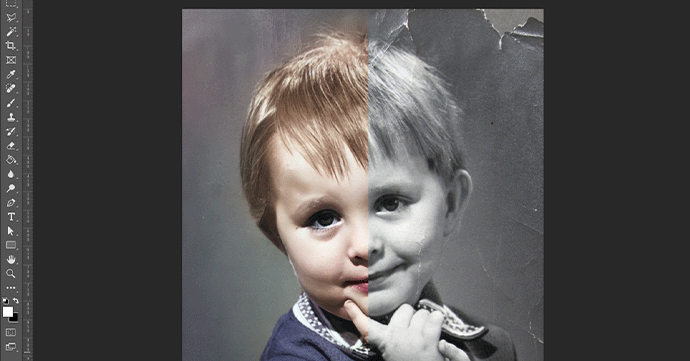
Repairing Tears
- Clone Stamp Tool: Use this tool to copy pixels from undamaged areas of the photograph, effectively hiding damage to the original print.
- Healing Brush: Use this tool to blend the tear into the surrounding areas.
- Layering: Work in layers to make non-destructive edits. This way, any changes can be easily reverted if they’re not working.
Removing Stains
- Spot Healing Brush: Great for quickly removing small stains, this tool intelligently blends the area with surrounding pixels.
- Patch Tool: Replace the stained area with a clean section of the photo.
- Colour Correction: Minimise discolouration caused by stains by adjusting the hue and saturation of your image.
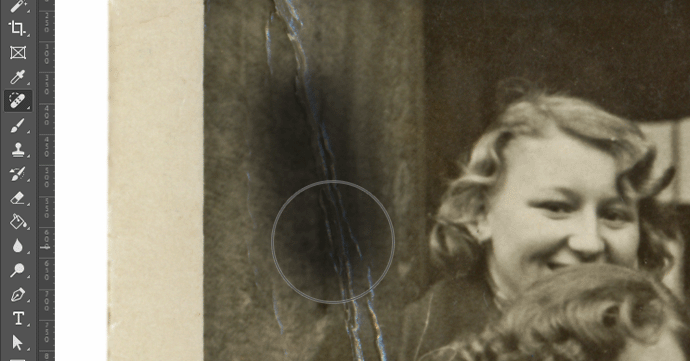
Enhancing Faded Areas
- Levels and Curves: Use this to restore contrast and improve the overall brightness of the image.
- Selective Colour Adjustment: Selective colour tools can be used to enhance specific colours and restore the original look of your photograph.
Fixing Blurred Areas
- Sharpening Filters: Apply sharpening filters carefully to enhance details without introducing artifacts (unwanted visual distortions or errors).
- High Pass Filter: Use a high pass filter to sharpen specific areas selectively by blending it with the original layer.
Reconstructing Missing Parts
- Content-Aware Fill: Use content-aware fill to intelligently reconstruct missing parts by analysing the surrounding area to fill in any missing parts of your photo.
- Manual Painting: For complex areas, manually paint missing parts using a digital brush that matches the photo’s texture and colour.
Storing and Sharing Digital Copies
Digital Storage
Once you’ve scanned your treasured photos, you’ll need to take care to keep your digital collection safe and secure. Some best practices for storing digital photo scans safely include creating multiple backups and using descriptive file names that are easy to find. You should also periodically update and replace your storage media to prevent data degradation over time. While tempting to save space on your storage device, file compression is something that should be used sparingly to maintain the quality of your image. Finally, use strong passwords and encryption for cloud storage and sensitive files to prevent unauthorised access.
Sharing With Others
You’ve done all the work to scan and restore your old photographs, now it’s time to share them with friends and family, or to display them around your home as your own emotional connection to the past. Whether it’s creating an online photo album, or reprinting your images on more durable media, there’s lots of options to consider once you have your scanned image. It’s really a case of how you want to share them.
After looking at everything to goes into scanning and restoring old photographs, it’s clear that extra care and attention needs to be taken when dealing with them. From using a soft brush, to editing software, you should now have all the information you need to start scanning those old photographs of yours and preserve those treasured memories for years to come.


